Presented by ![]()
I carry a titanium spork almost everywhere I go. The ultralight utensil saves me from relying on single-use plastic both in the backcountry and the city. Another tool I keep handy is a classic pocket knife. Not a multi-tool overloaded with gadgets—just a straightforward, two- or three-blade knife. During one particularly crucial instance not so long ago when I forgot the former, I was sure thankful I had the latter. And here’s why.
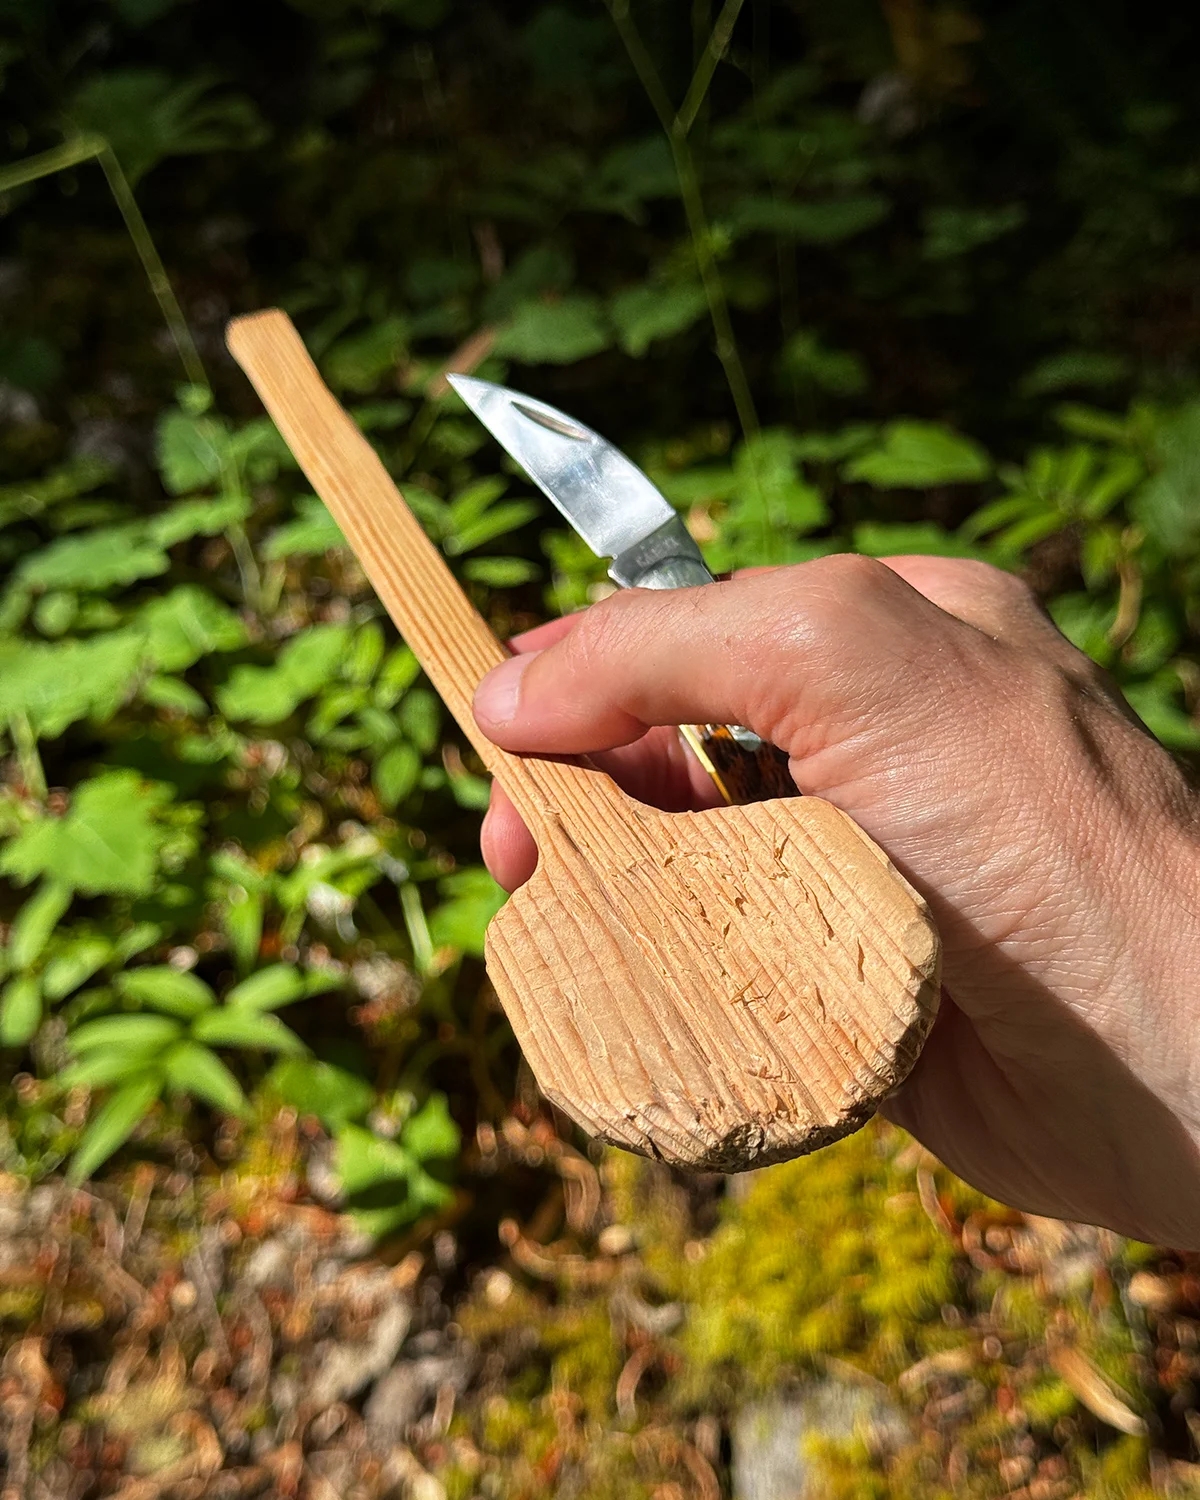
Last summer while backpacking in Eastern Oregon, I found myself settling into camp after a proper 10-mile hike in. Perched beside a pristine alpine lake, I set water to boil, anticipating a tasty boil-in-a-bag pad thai dinner. That was when I realized I'd left my spork at home, 2,225 miles away, and I asked myself, is pad thai drinkable? Then I remembered my Case pocketknife. Surrounded by deadfall pine branches, I found a suitable candidate and got to work whittling my own DIY spoon. In no time at all I’d carved a lengthy utensil and was enjoying dinner, problem solved.
Inspired by that moment, I decided to put together this easy guide to carving a wood spoon on your next camp trip (I mean, c’mon folks, I can’t be the only one to ever find themselves in this position!). After all, what’s lighter than a 16g spork? How about a DIY wood utensil you don’t need to pack in or out.
Remember to always pay close attention when working with knives. Carve away from your body, never push too hard, and always carve within your comfort zone. Safety first friends! Especially in the backcountry.
How to Carve a Wood Spoon With a Basic Pocketknife
Step 1: Gather your things and make a plan
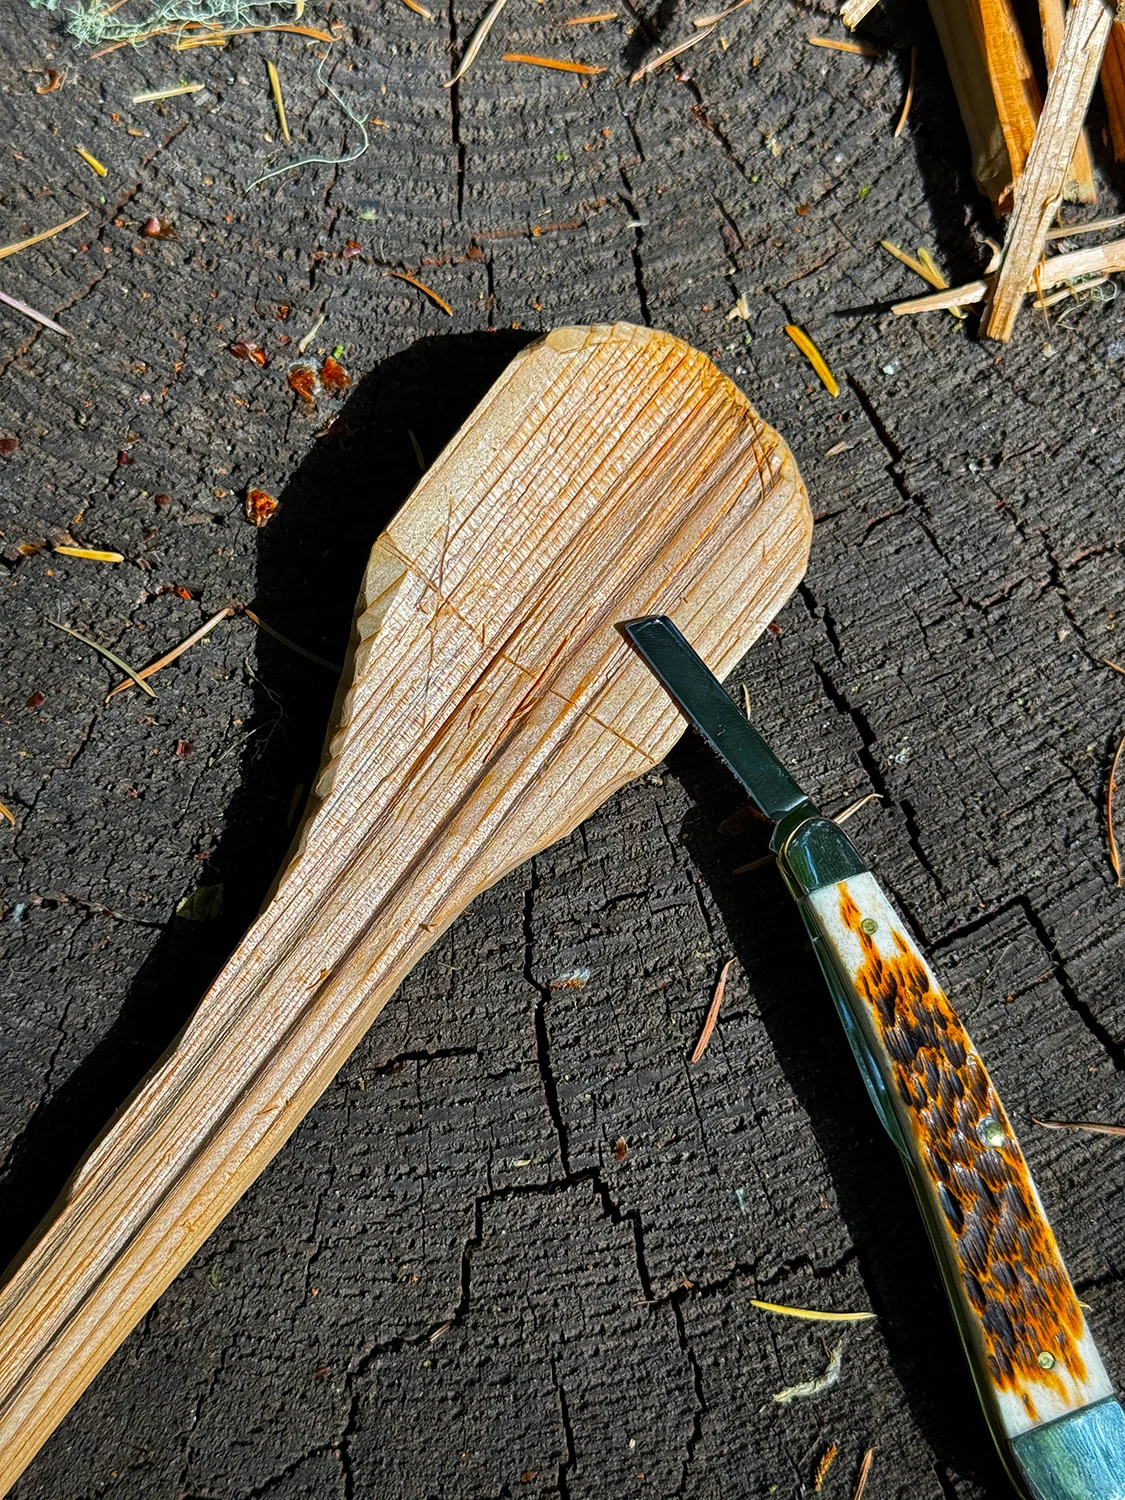
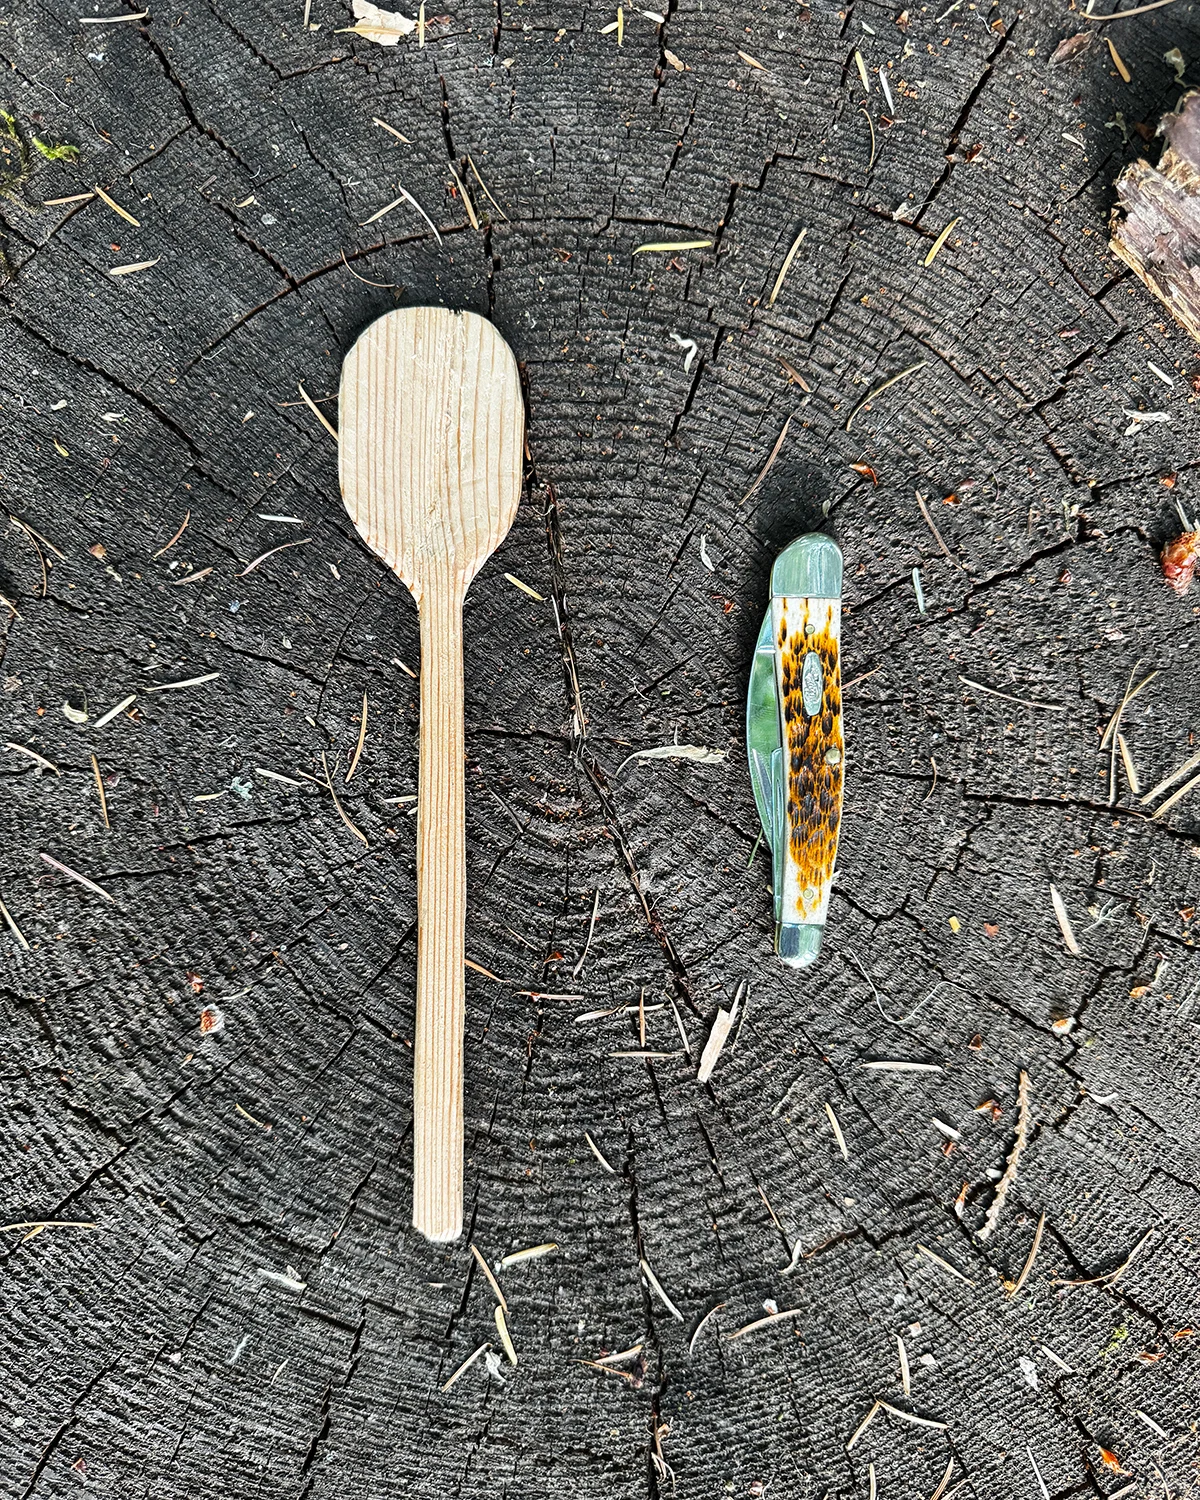
Knife: The most essential item here is, of course, a pocket knife. Here I'm using the Case Peach Seed Jig Amber Bone CS Seahorse Whittler, a USA-made classic design with three blades: a large wharncliffe and smaller pen and coping blades. I used the main blade for 90% of this carve, alternating to the pen for detailed carving and the squared coping blade for finessing the curved spoon bowl. The textured bone handle made it easy to maintain a firm grip while the high carbon steel blades maintained a sharp edge well, even after plenty of carving. If you can find a similar knife, great. But for the purpose of simply making an eating utensil, most any old pocket knife will do.
Wood: Next you’ll want to find a piece of relatively straight, recently downed wood. “Green wood” has not been seasoned or dried and still contains moisture (sap and water), making it softer and easier to carve. While hardwoods like maple, birch, and alder make great carving woods, I often find myself working with pine as it’s most plentiful in the forests where I like to hike and camp. Cedar has a lovely smell but can impart a taste (similar to Doug fir) so it's best to avoid it, along with potentially toxic tree species like yew, black locust, laburnum, and oleander. As with any type of foraging, if you’re not certain of a plant species, leave it be!
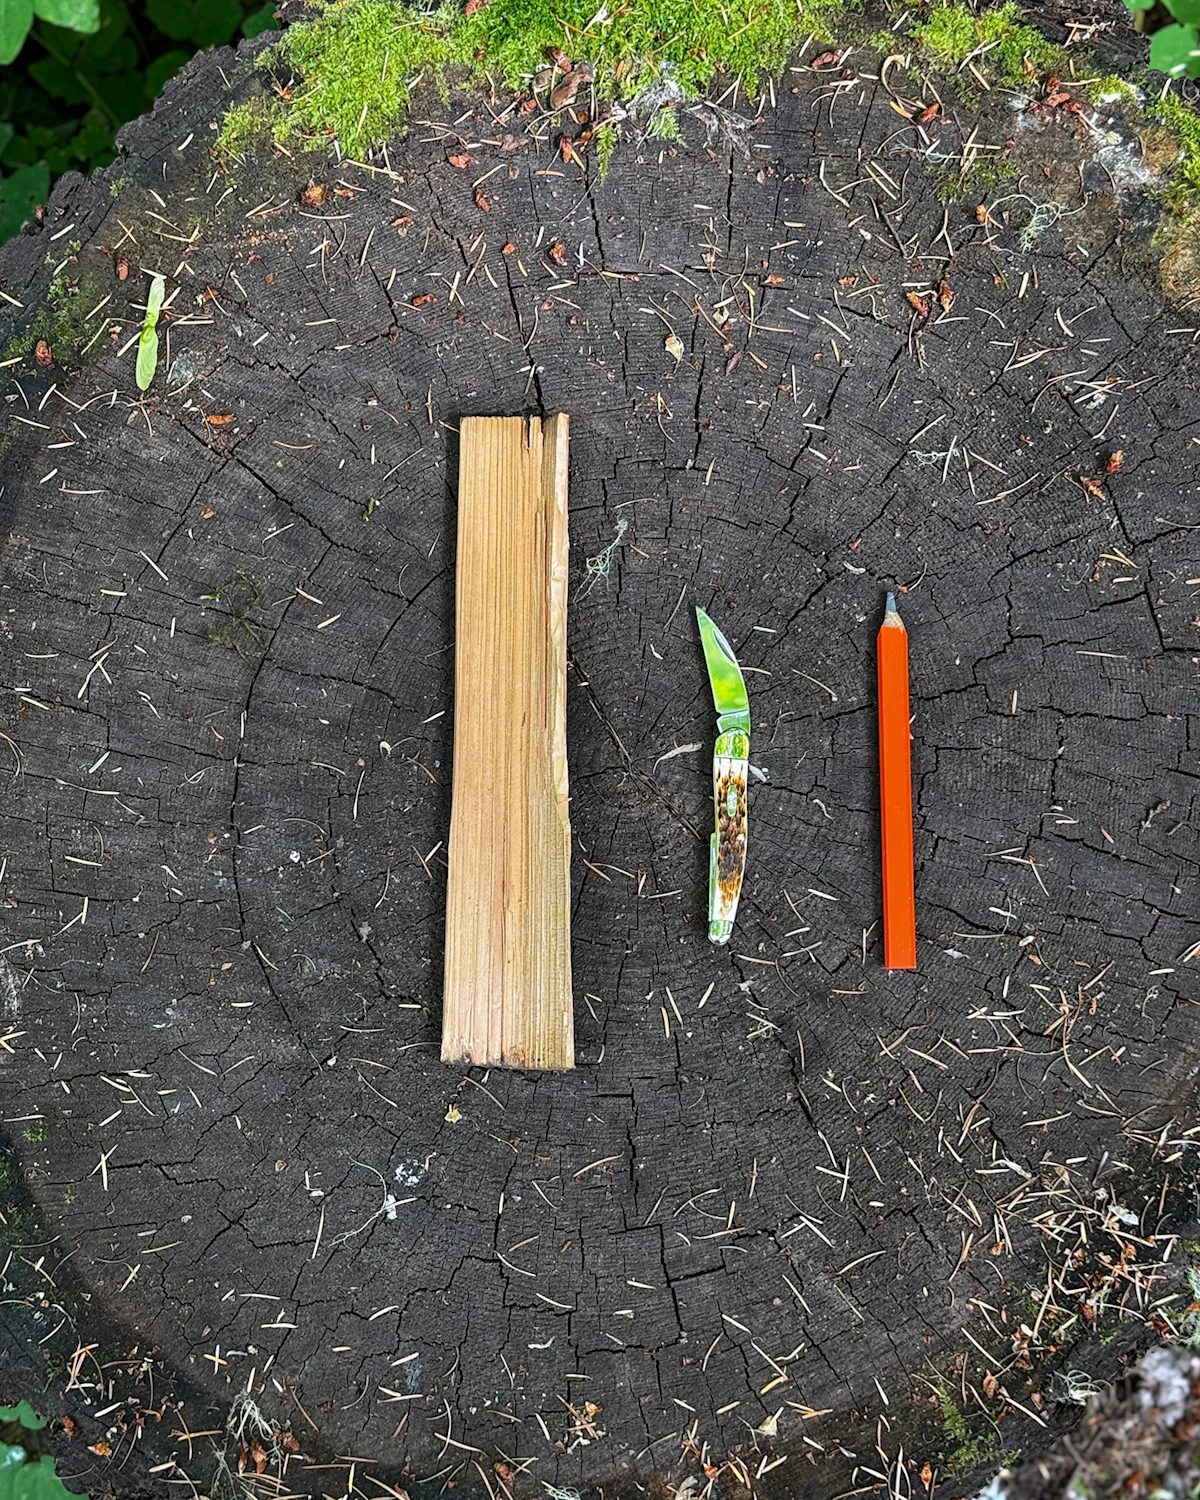
Once you have a long, straight piece of wood to carve with, imagine the spoon hiding within. If you have a pencil, sketching a rough shape will help. It’s not necessary though, assuming you have an imagination.
Plan: At home, in a controlled environment, I rely on a slew of old Swedish wood carving tools like a sloyd knife to carve with proper precision. Using a range of sandpapers to smooth fine elements and tung oil or raw linseed oil to finish and seal the wood. At the campsite, speed and utility is the goal—no need to sand or seal. Remember, you’re carving a tool to be used and returned to nature when you’re done, not a piece of art to be put on display. Here, crude will do just fine.
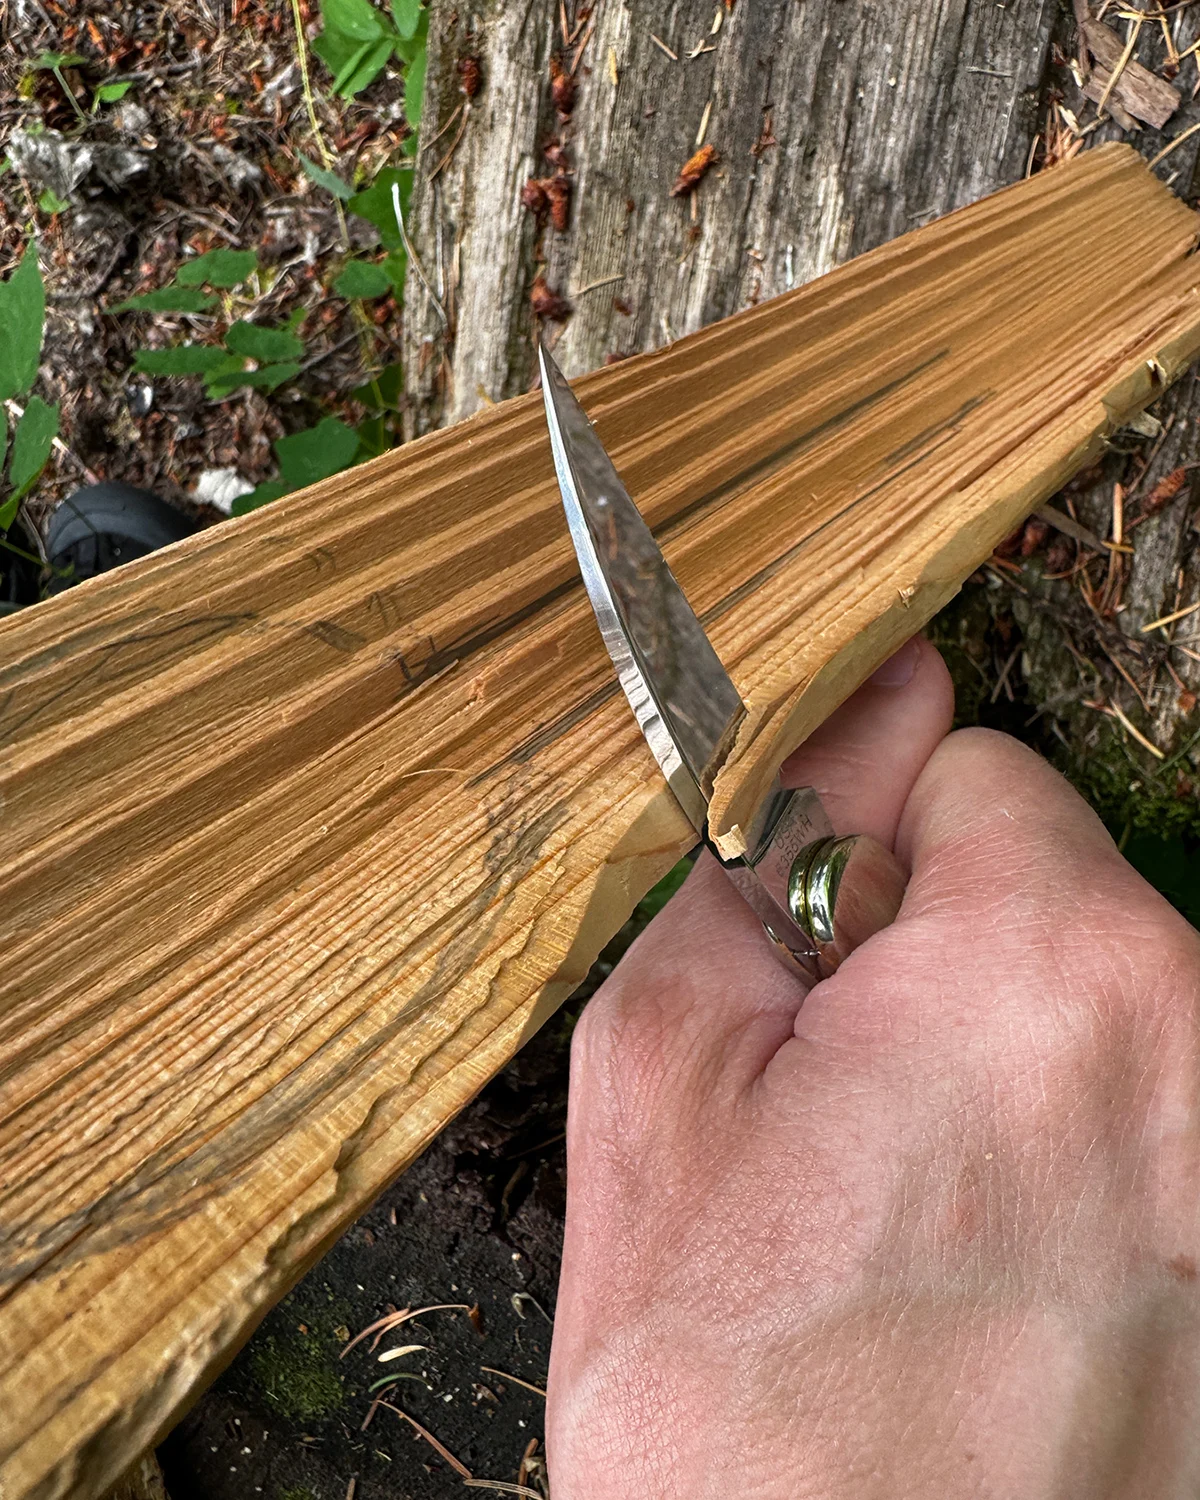
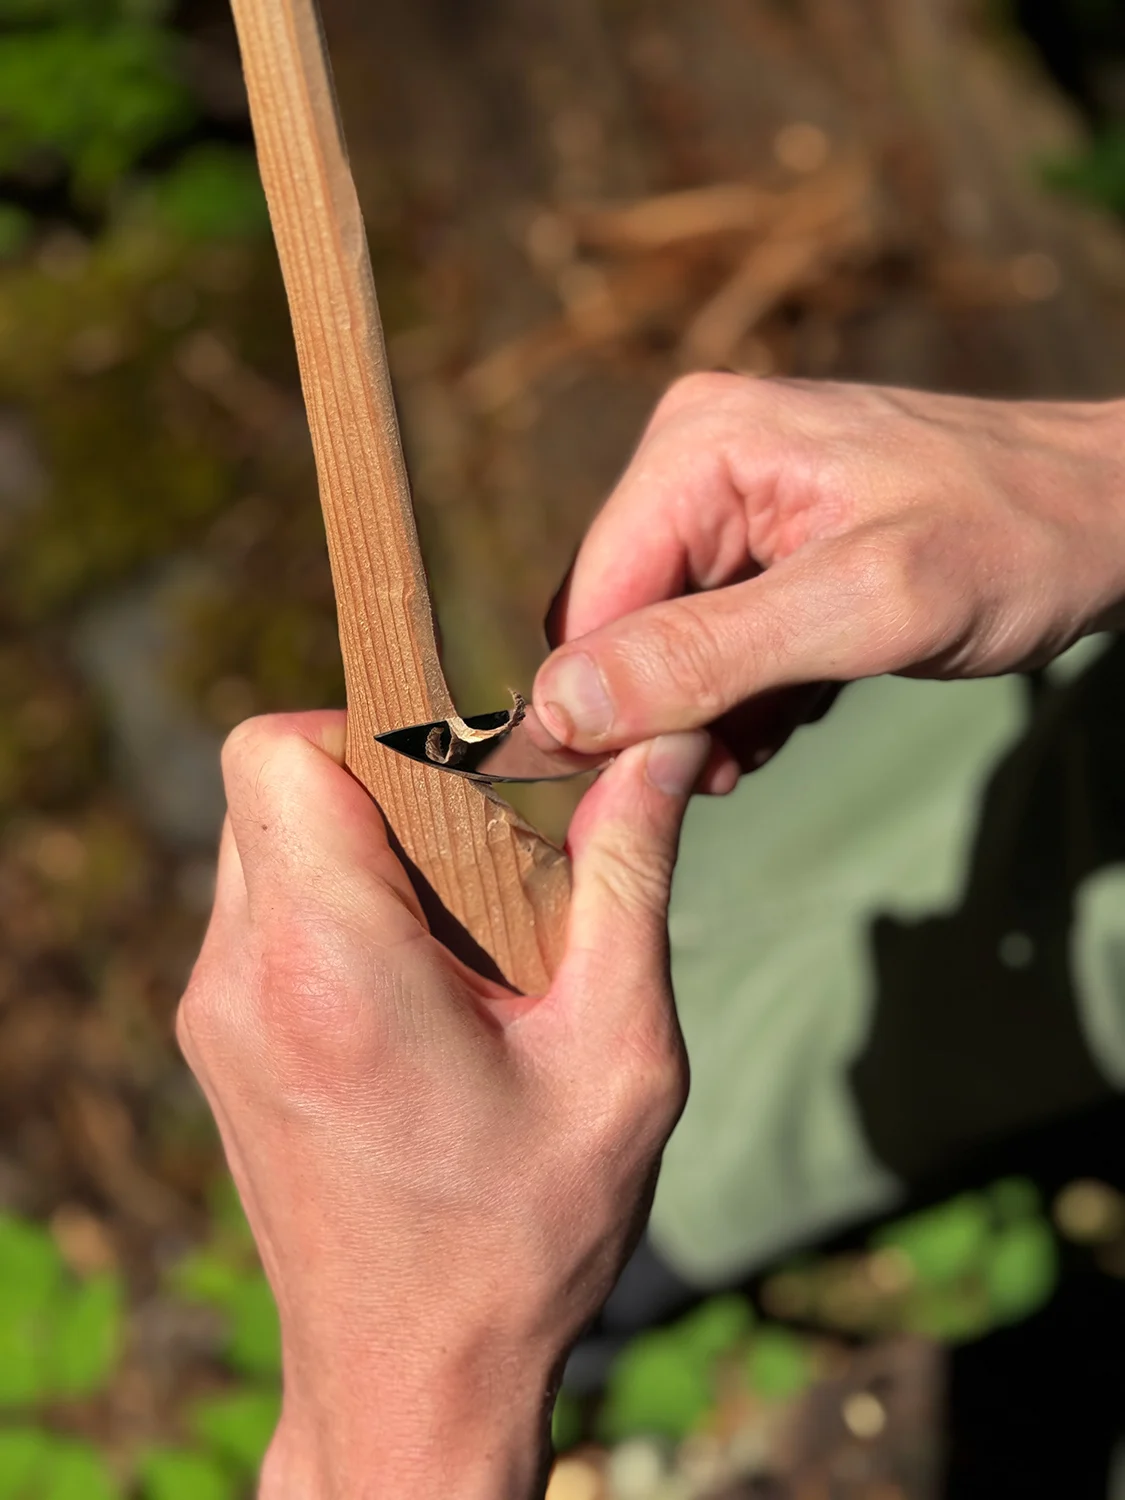
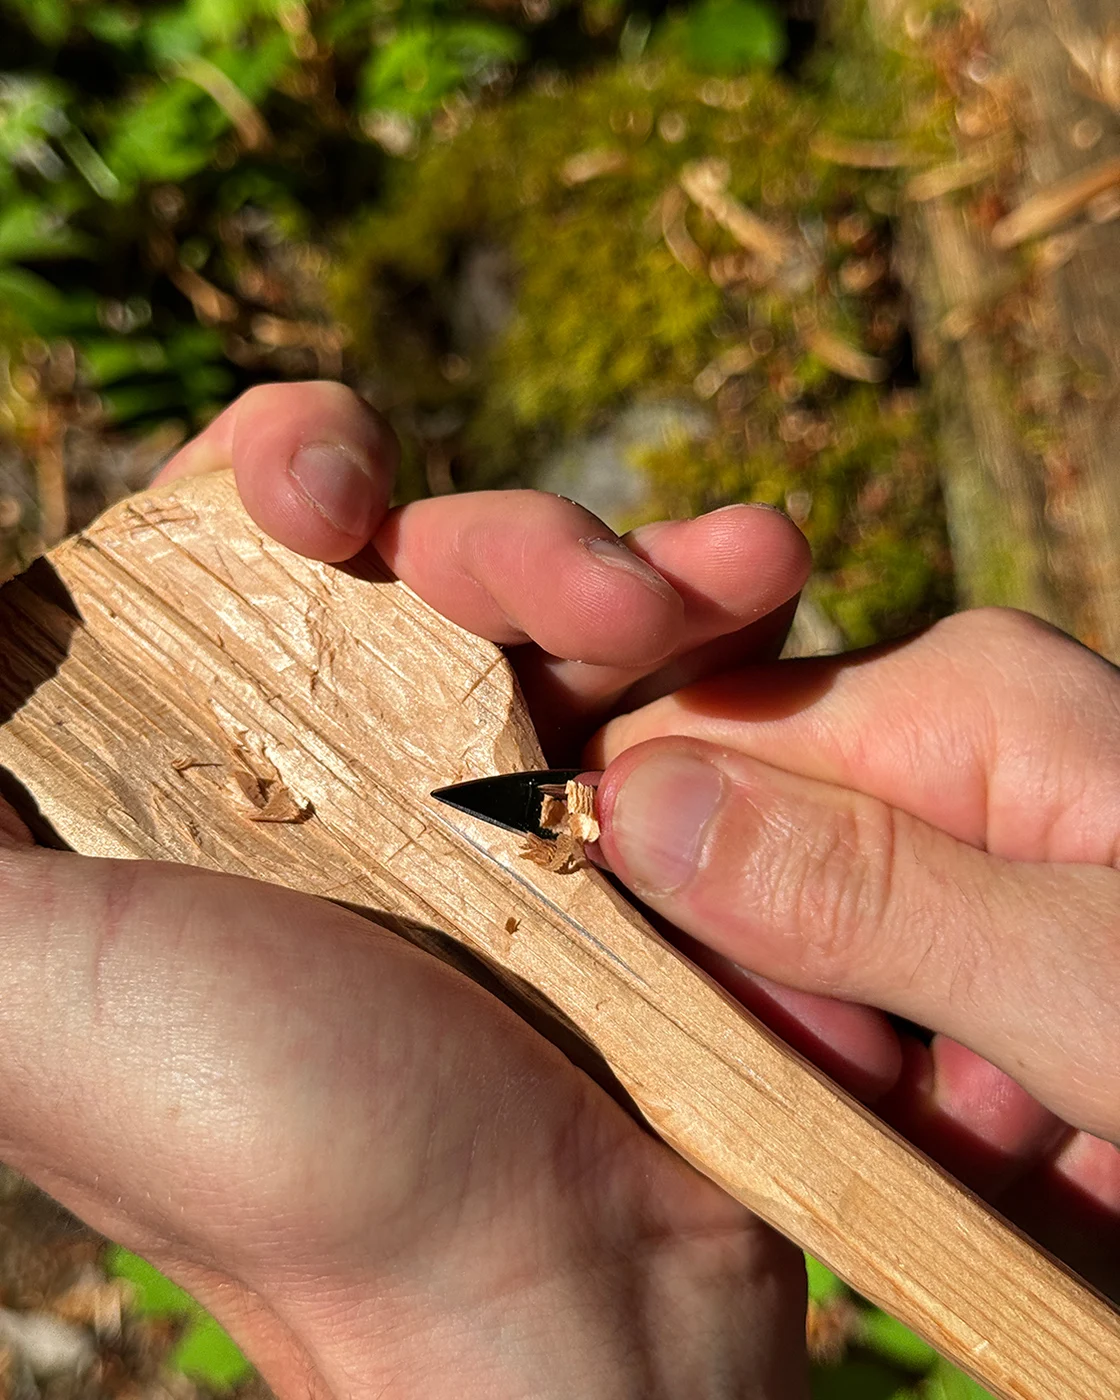
Step 2: Start carving
In the early stages, you will want to focus on roughing out your spoon shape. Pick an end for your spoon's “bowl” and whittle away the excess “meat” from the handle side. Here you’ll use more muscle than during any other point in the carve. Don’t worry too much about the shape at this point; your goal here is to come away with a spoon-shaped piece of wood. Next, you’ll make it into an actual spoon.
Pro Tip: If no fire restrictions are in place, keep the shavings for use in starting a campfire later on.